Throughout this guide, we’ll utilize the @nhost/react-native-template, which comes pre-configured with
authentication and storage capabilities provided by Nhost.
Before starting this quickstart, ensure that your environment is set up to work with React Native.
Follow the setup guide available on
the official React Native website.
1
Create Nhost Project
Create your project through the Nhost Dashboard.
2
Setup Database
Navigate to the SQL Editor of the database and run the following SQL to create a new table 
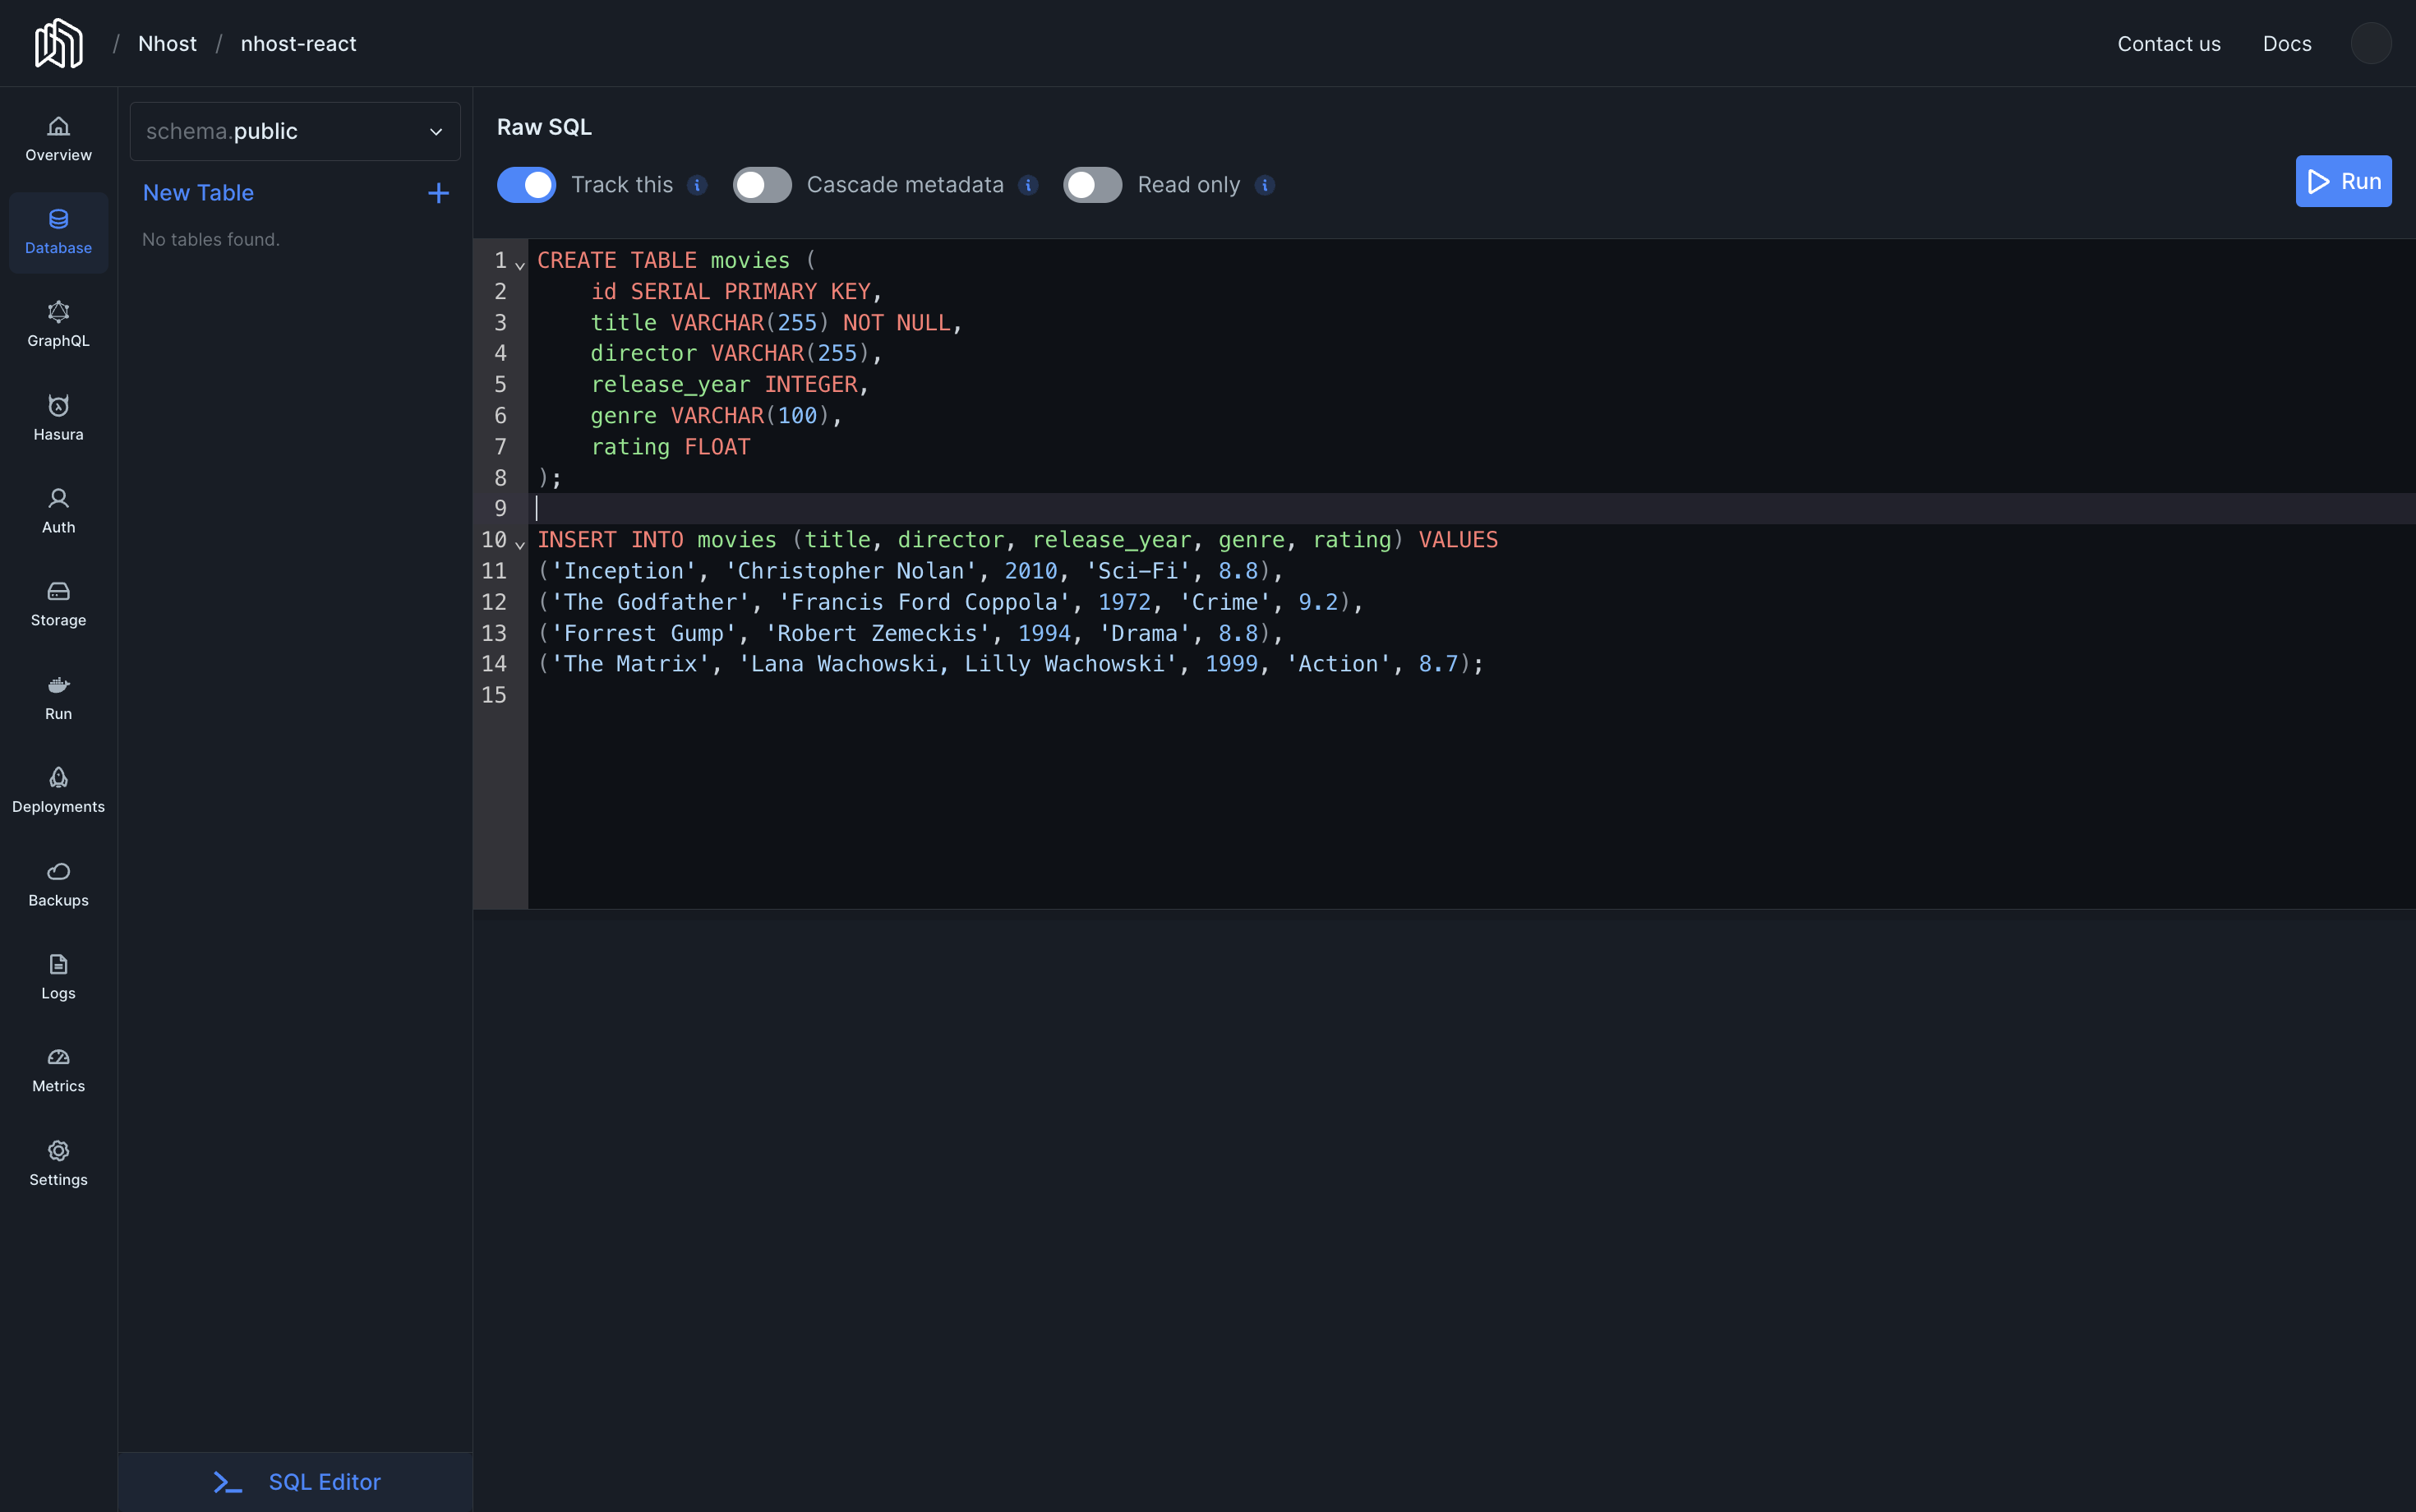
todos
.Make sure the option
Track this
is enabledSQL Editor

3
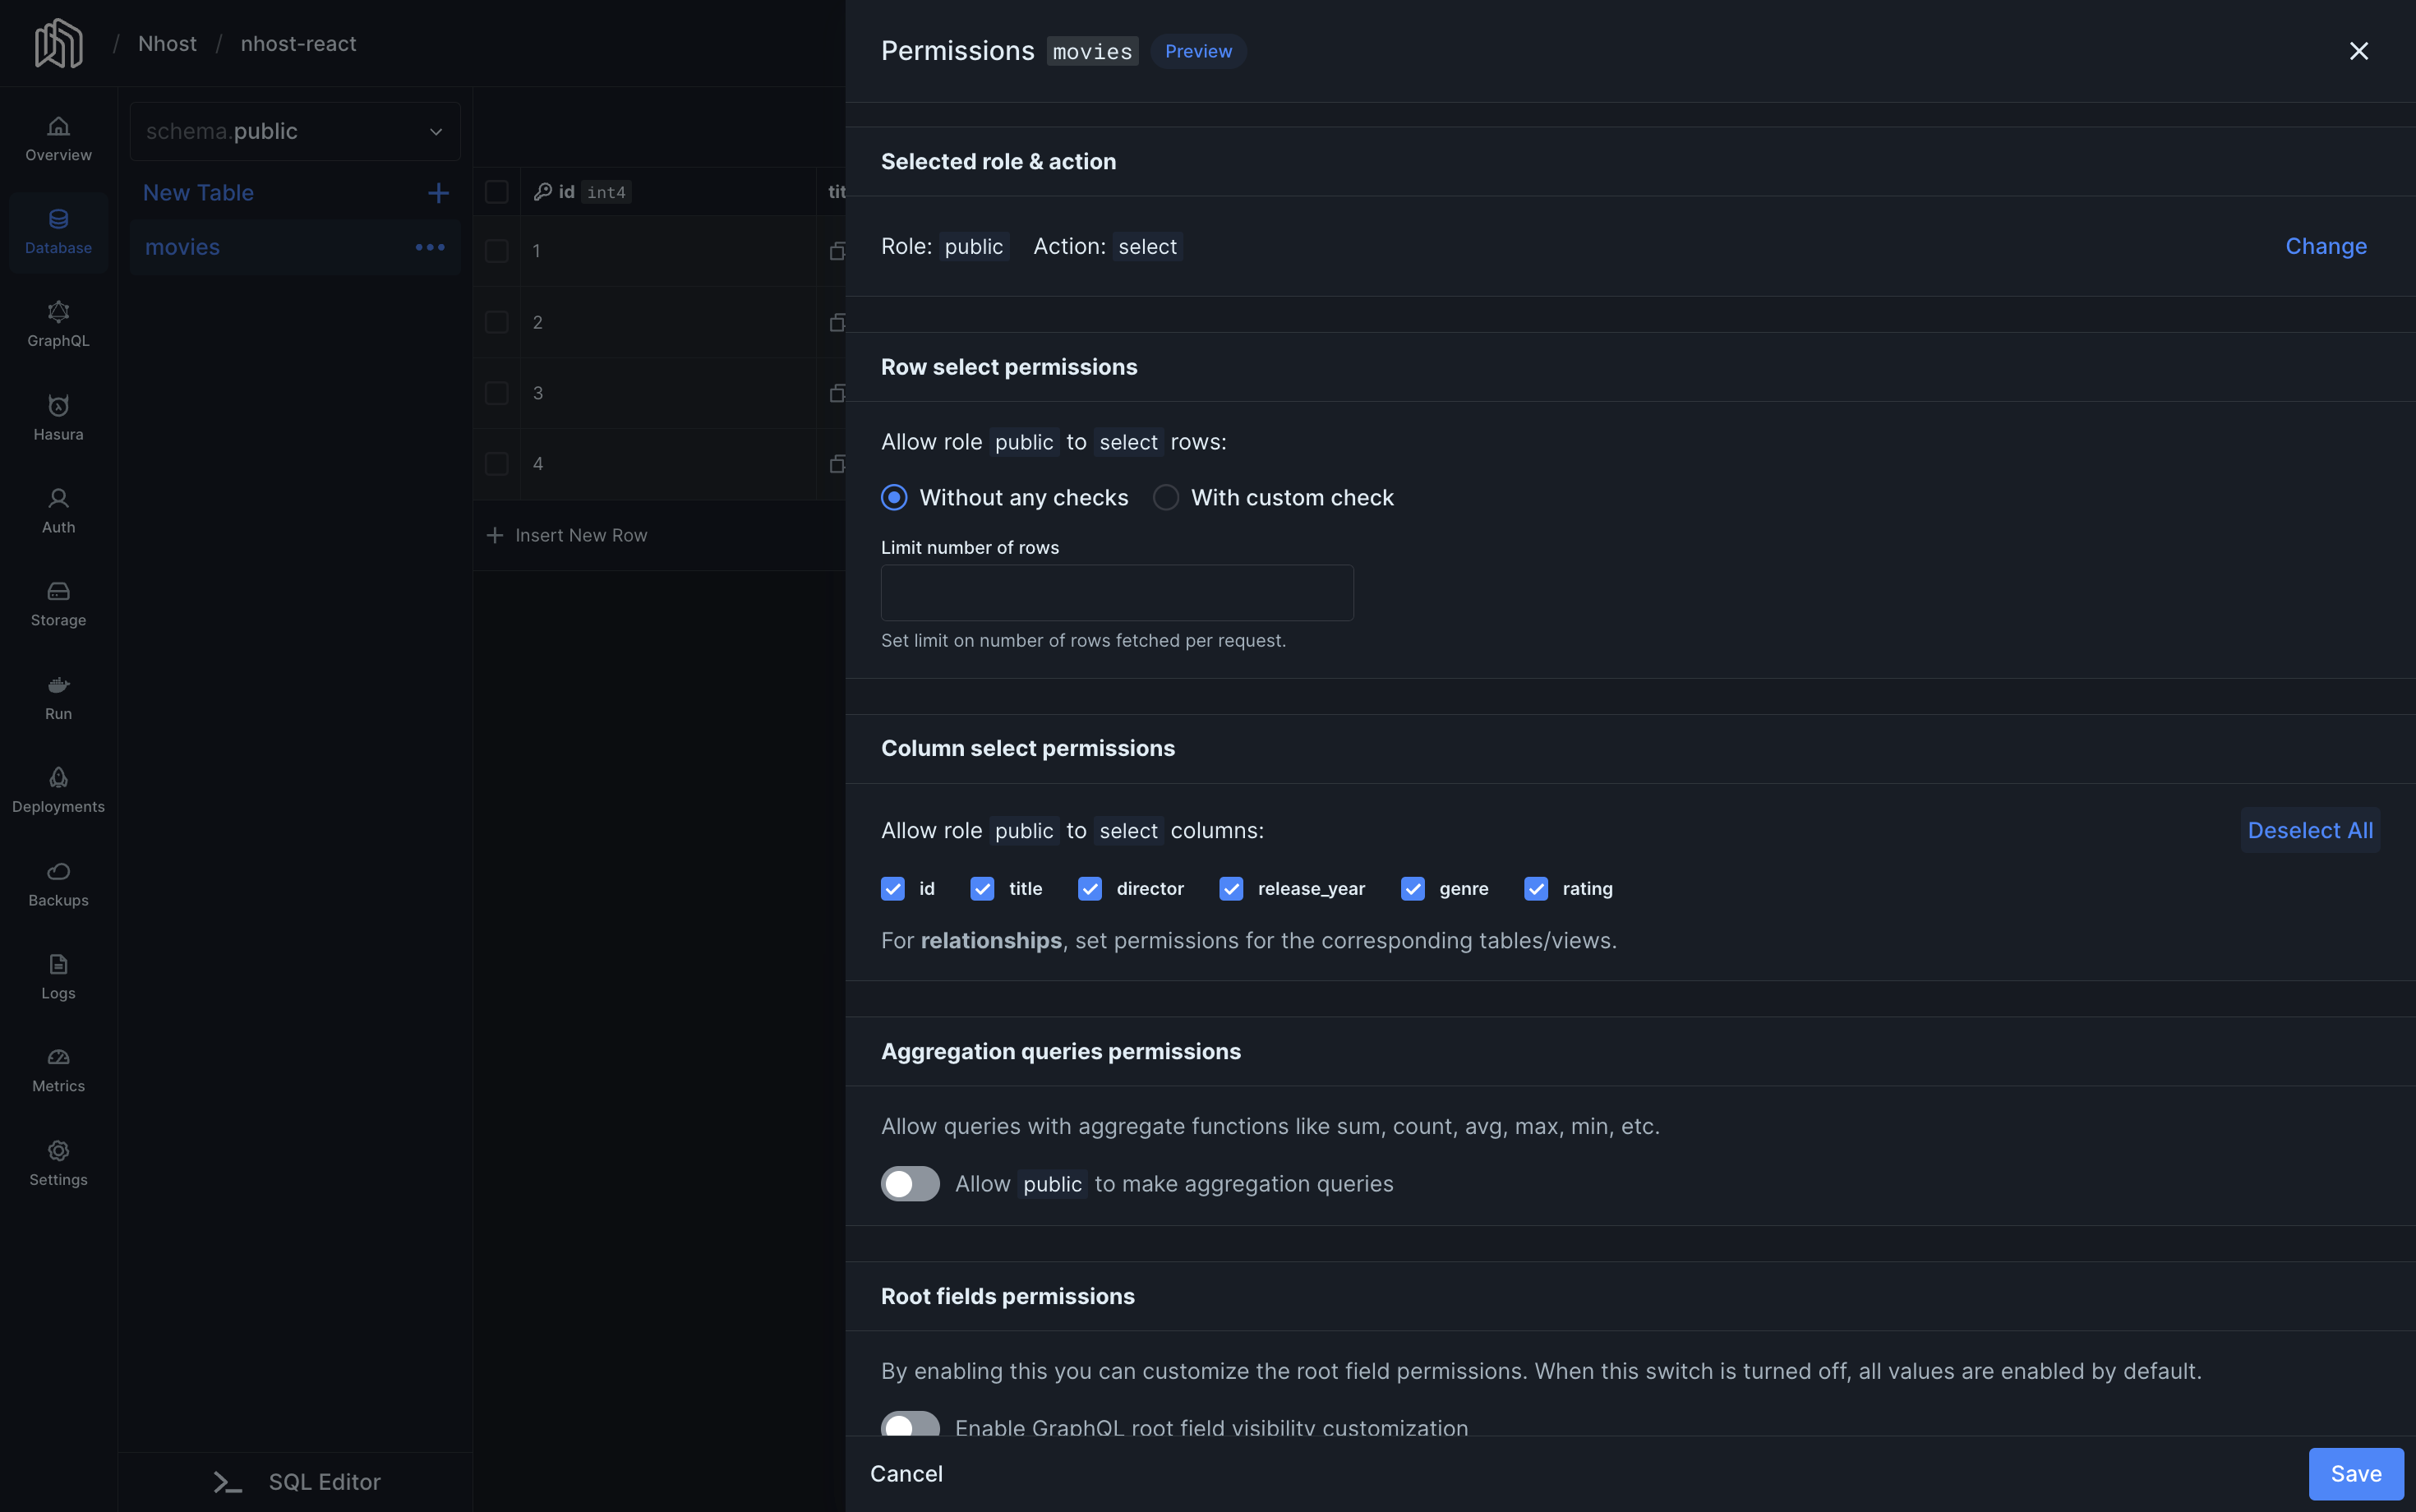
Configure the todos table permissions
To set permissions for the new
todos
table, select the table, click on the ...
to open the actions dialog,
then click on Edit Permissions. Set the following permissions for the user
role:-
Insert
- Set
Row insert permissions
toWithout any checks
- Select all columns except
user_id
onColumn insert permissions
- Add a new
Column preset
and setColumn Name
touser_id
andColumn Value
toX-Hasura-User-Id
- Save
- Set
-
Select
- Set
Row select permissions
toWith custom check
and fill in the following rule:- Set
Where
totodos.user_id
- Set the operator to
_eq
- Set the value to
X-Hasura-User-Id
- Set
- Select all columns except
user_id
onColumn select permissions
- Save
- Set
-
Update
- Set
Row update permissions
toWith custom check
and fill in the following rule:- Set
Where
totodos.user_id
- Set the operator to
_eq
- Set the value to
X-Hasura-User-Id
- Set
- Select all columns except
user_id
onColumn select permissions
- Save
- Set
-
Delete
- Set
Row delete permissions
toWith custom check
and fill in the following rule:- Set
Where
totodos.user_id
- Set the operator to
_eq
- Set the value to
X-Hasura-User-Id
- Set
- Save
- Set
4
Configure permissions to enable user file uploads
To enable file uploads by users, set the permissions as follows:
-
Edit the files table permissions
- Navigate to the files table within the Database tab
- Click on the three dots (…) next to the files table
- Click on Edit Permissions
-
Modify the
Insert
permission for theuser
role:- Set
Row insert permissions
toWithout any checks
- Select all columns on
Column insert permissions
- Save
- Set
-
Select
- Set
Row select permissions
toWith custom check
and fill in the following rule:- Set
Where
tofiles.uploaded_by_user_id
- Set the operator to
_eq
- Set the value to
X-Hasura-User-Id
- Set
- Select all columns on
Column select permissions
- Save
- Set
5
Bootstrap your React Native app
Intialize a new React Native project using the template
@nhost/react-native-template
Terminal
6
Connect your React Native app to the Nhost project
Copy your project’s
<subdomain>
and <region>
values available on the dashboard overviewsrc/root.tsx
7
Add the GraphQL queries
Create a new file
src/graphql/todos.ts
that will expose the graphql queries needed to list
, add
and delete
To-Do’s.src/graphql/todos.ts
8
Add a form to insert a To-Do
src/components/AddTodoForm.tsx
9
Add the Todo component and the screen to list all the todos
10
Reference the new Todos components in the Drawer Navigator
src/screens/Main.tsx
11
Run the app on the emulator
- Open a terminal and start the metro bundler
Terminal
- Open a new terminal and run the app on Android
Terminal
12
Demo
Next Steps: enabling Google and Apple Sign-In
The template is preconfigured to allow users to sign in with Google and Apple. To enable this feature, follow these steps:- Navigate to your Nhost project’s Sign-In Methods settings.
- Enable Google and/or Apple sign-in.
- Fill in the necessary credentials.